It can be so overwhelming to know what cookie decorating supplies you need to decorate cookies with royal icing. Don’t worry, I got you! This posted edis ddedicated to ALL of the supplies that I use and love for every aspect of csookie decorating from baking to decorating. AND, as often as possible I provide “basic” and “splurge” options for each item.
Included on this page are (click on link to skip to that section):
- Discount Codes
- Bare Minimum Cookie Decorating Supplies for the Beginner
- Basic Ingredients for Baking & Decorating
- Basic Baking Supplies
- Basic Cookie Decorating Supplies
- Next Step Cookie Decorating Supplies for the Intermediate/Advanced Cookier
- My favorite Amazon products
- My favorite Borderlands Bakery products
- My favorite The Sugar Art products
- My Favorite Small Businesses to Shop Cookie Supplies
*DISCLOSURE: This post contains affiliate links which means that, at no additional cost to you, I may earn a small commission if you make a purchase from one of my links. I greatly appreciate your support!
Discount Codes
I am a member of a few different affiliate programs, most of which give me a discount code that I can extend to y’all! I do receive a small commission when you use my discount code or the links I provide, which I greatly appreciate because it all adds up and allows me to do what I love! So if you’re hankering to buy a product from one of the following sites, please do use my code and/or link (either the general website link I provide below or any of the links provided below). Thank you!
AMAZON
Link to my Amazon Shop (ALL my favorite products on Amazon)
BORDERLANDS BAKERY (specialty cookie product shop)
Use this code for 10% off: THEGRACEFULBAKER10
BRIGHTON CUTTERS (cookie cutters)
Use this link for 10% of your first order!
CHUA COOKIE (pink perforated baking mats)
Click here for the baking mats that I use (I use the HALF SHEET version 1 to fit the Nordic Ware pans)
Use code Chua15Grace23 for 15% off your order!!!
FLODESK (email marketing–it’s what I use!)
Use this link for 50% off!
THE SUGAR ART (metallic dusts, powdered colors, glitter & more!)
Use this code for 10% off: THEGRACEFULBAKER10
SWEET DESIGNS SHOPPE (cookie cutters)
No discount code! But I do have affiliate links — if you access their website from my affiliate link I get a small kickback commission (thank you!).
Bare Minimum Cookie Decorating Supplies for the Beginner
All of the various tools and gadgets can be SO overwhelming these days! The bare minimum that you need to get started are (see specific products listed later on this page):
- Baking supplies to bake your own cookies
- If you’d like a great alternative for practice that doesn’t require you to bake a thing, check out the Notta Cookie
- Basic cookie cutters (but even then, you can always cut your own with a knife!)
- If you’re looking for a great set of basic cutters, check out the Beginner’s Bundle I put together with Brighton Cutters
- (Tipless) piping bags
- Some sort of scribe (i.e. a toothpick is fine!)
- Food coloring (I recommend using gels for beginners)
- Meringue powder
- Drying method (i.e. fan)
- Sprinkles
Basic Ingredients for Cookie & Icing Recipe
Cookie (see this post for my cookie recipe)
Icing (see this post for my icing recipe)
- Meringue Powder:
- Powdered Sugar: Domino brand
- Bottle Lemon Juice: ReaLEMON brand
Basic Baking Supplies
- Stand mixer or hand mixer (I prefer the stand mixer)
- Pans
- Pan lids (I love these for storing cookies overnight! AFTER having dried of course)
- Parchment paper sheets or Chua Cookie perforated mats (my fav!)
- For the pink mats I use the HALF SHEET version 1 to fit the Nordic Ware pans (my fav!) – Use code Chua15Grace23 for 15% off your order! **Do NOT wash with scented soap! Make sure all soap is thoroughly cleaned from the mat before drying. (I use the Nordic Ware half sheet with their matching lids.)
- Rolling pin
- I have this rolling pin by J.K. Adams that appears to be out of stock even on their website
- Here is another similar one
- You just need a simple wooden STRAIGHT rolling pin (not the French ones that are tapered). It is much easier to use these longer rolling pins with the rolling guides than the rolling pins with handles.
- Rolling guides (mine are 5/16”)
- Purchase options
- Alternative options
- OR you can buy the rolling pins with guides on them (I’ve never found a rolling pin that includes a 5/16″ guide)
- OR you can simply purchase 5/16″ dowels from a place like Home Depot/Lowe’s!
- If you don’t have access to a 5/16″ guide, either eye ball it or use the more common 1/4″ or 3/8″ (which one you choose is up to you! 1/4″ could be most easily over baked and will produce more cookies; 3/8″ will have a softer bite since they’re thicker and will produce fewer cookies)
- Vanilla (this is the ONE baking ingredient I splurge on): Nielsen Massey Vanilla Bean Paste (affiliate link)
- Food scale for measuring ingredients
Basic Cookie Decorating Supplies
Food Coloring
GEL COLORS
Generally, I recommend gel colors most often, and especially for beginners.
- Link for basic set of Wilton colors (the only color I do *not* like from Wilton is their brown as it’s more yellowy than a warm brown)
- I’d recommend these over Wilton if budget allows and you instead to decorate more–better quality colors, bottles and larger amounts of color:
- Chefmaster – small bottles OR large bottles
- **I’m newly obsessed with Chefmaster and highly recommend getting the large bottle set (you can mix just about any color you need from them!) or the small bottles if you prefer more premade colors
- *You CAN use Chefmaster Bakers Rose (pink) and Deep Pink with my lemon royal icing!!
- Link for basic set of Americolor
- Please note: you cannot use Americolor pinks with my lemon royal icing
- Artisan Accents (I’ve never used these but it’s reputable brand loved by others I know!)
- Please note: I’ve never tried their pink option with my lemon royal icing
- The Sugar Art Gels: these are the newest color line from The Sugar Art! They are just as highly pigmented as their powders, but in a gel! Which means they’re a lot easier to work with. Highly recommend, especially for highly pigmented colors like black, red and brown. Just keep in mind a little goes a LONG way with these!
- Chefmaster – small bottles OR large bottles
- Basic Colors to mix most colors:
- Blue: Royal Blue // Yellow: Lemon Yellow
- Red: Red Red // Pink: Bakers Rose
POWDERED COLORS
The Sugar Art Master Elites are a highly pigmented powder and they are a MUST for red and black (but their new gel line is amazing!!! I don’t buy the Master Elites anymore…). If you have the powders, use them up! And then buy gels 😉
Cookie cutters
- Basic:
- Any Ann Clark Cookie Cutters on Amazon
- Wilton cutters (commonly found at Michael’s, JoAnn’s and Amazon)
- Sweet Sugarbelle cutters (commonly found at Michael’s and JoAnn’s)
- Hand cut your designs by using the blue blade from this retractable knife set
- Splurge: there are TONS of small 3D printing cutter shops out there! Please note these tend to take more lead time for processing/shipping. Some of my favs are (those marked with ** are the ones I have the most of):
Tipless piping bags
Tipless piping bags are all the rage these days. Gone are the days of using tips and couplers (for the most part) simply for ease! That said, no shame in still using tips if that’s what you prefer!
For beginners…
I suggest tipless bags partly because I prefer them and partly because it’s the least investment. Other options are reusable bags that are meant to be used with tips and/or candy melt bottles.
For this there is really no “basic” — they’re all about the same price. It’s more about shipping speed. So I have some Amazon options and my favorite (which is actually less expensive than the Amazon! Go figure!):
- MY FAVORITE (cheaply made bags can and will pop at the seams–I’ve used hundreds of this brand and one pop!):
- Amazon (I’ve never purchased bags from Amazon, but I know people who do! These are the ones they recommend):
- LoveBB
- Cookie Cutter Kingdom
- Weetiee (comes with a scribe too!)
Looking for reusable alternatives to tipless piping bags?
Please note I do NOT provide instruction for these alternatives, I’ve just been asked for other options so I wanted to provide them. Below is the extent of product links/guidance I’m able to give at this time on alternatives.
I’ve never used reusable bags for royal icing, so I’m not able to give any recommendations on these. But, I do have experience with bottles. When I first started decorating years ago I used plastic bags/tips to outline and bottles to flood. You can use a bottle with a piping tip for a soft peak piping consistency, but anything thicker (medium or stiff peak) you’ll want to use a bag.
In terms of piping tip sizes:
- for outlining I’d say a Wilton/PME size 2
- for flooding… I’m not 100% sure as I never used tips to flood…I’d guess a 3 for a thinner flood and a 4 for a thicker flood (I used the “big bottles” below to flood, which don’t have an interchangeable piping tip)
Here are some recommendations for bottles:
- big bottle for flooding (and has a pretty large tip–this is the kind of bottle I would use to flood)
- small bottles (good for the “small bag” instruction for this set) – these are nice bc you can use different size tips (comes with a #2)
- combo pack of the small bottles and a larger size of the same style (if you buy this for this set the tip on the big bottle will probably be too small to flood with the thick flood for this set on a full sized cookie)
Bag ties / clips
- Basic: rubber bands or use a bag big enough to tie the end with a knot
- Splurge:
Sharp scissors (to cut the bags!)
Sprinkles
- I think everyone should have three kinds of sprinkles (you’d be amazed how much of an impact these sprinkles can have!):
- 1) small white sanding sugar
- 2) large white sanding sugar
- 3) white nonpareils — these are THE most versatile sprinkles and ones that you’ll see me use over and over in sets
Scribe tool
- Basic: toothpicks
- Splurges (I always use these 3 scribes when decorating):
- My favorite one for all purpose is sold by Borderlands Bakery–the shorter one with the heart (they might not make this anymore)
- I also can’t live without my Thingamagenie for a thicker scribe and booboo scraper
- And my PME scribe for really fine work
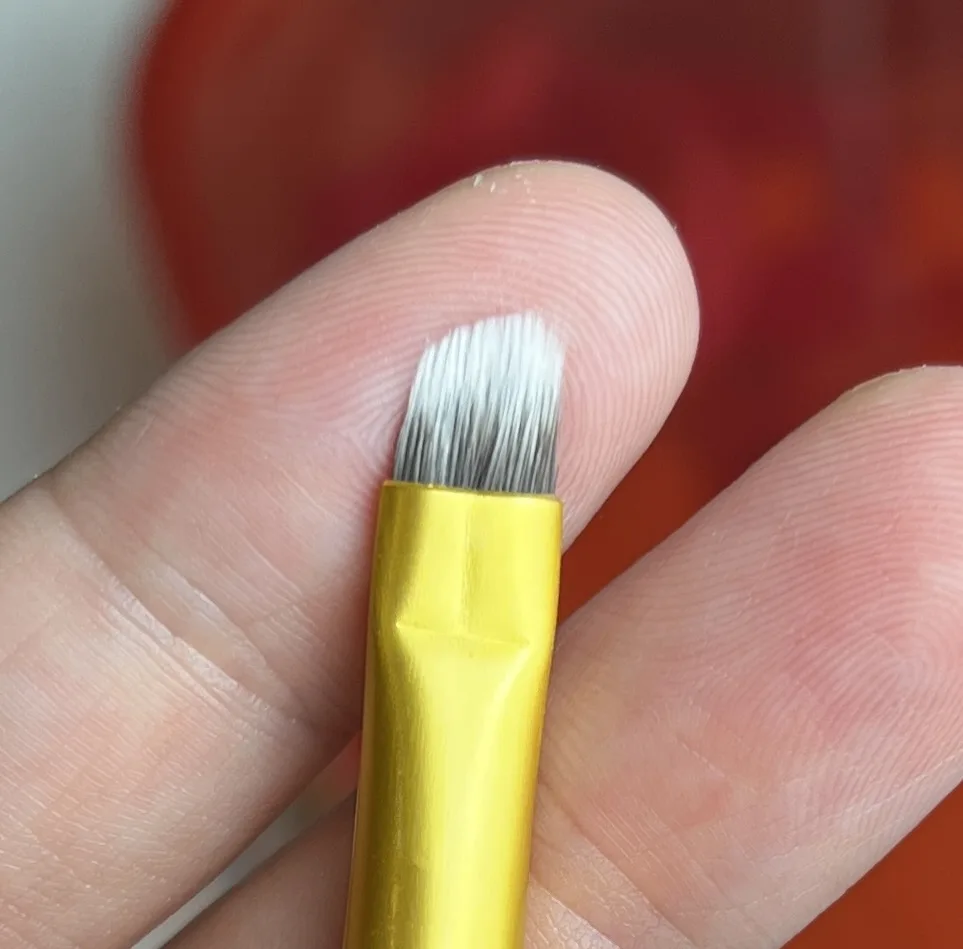
Crackle Tool
- Basic: You don’t need a fancy tool for the crackle technique we do in this class, but you do need something with a rounded end. Examples of pen, paintbrush and scribe ends below, as well as links for this kind of dual action scribe from Amazon (if you need a scribe, this is a great option!).

- Splurge: the round end tool from this set
Meringue powder
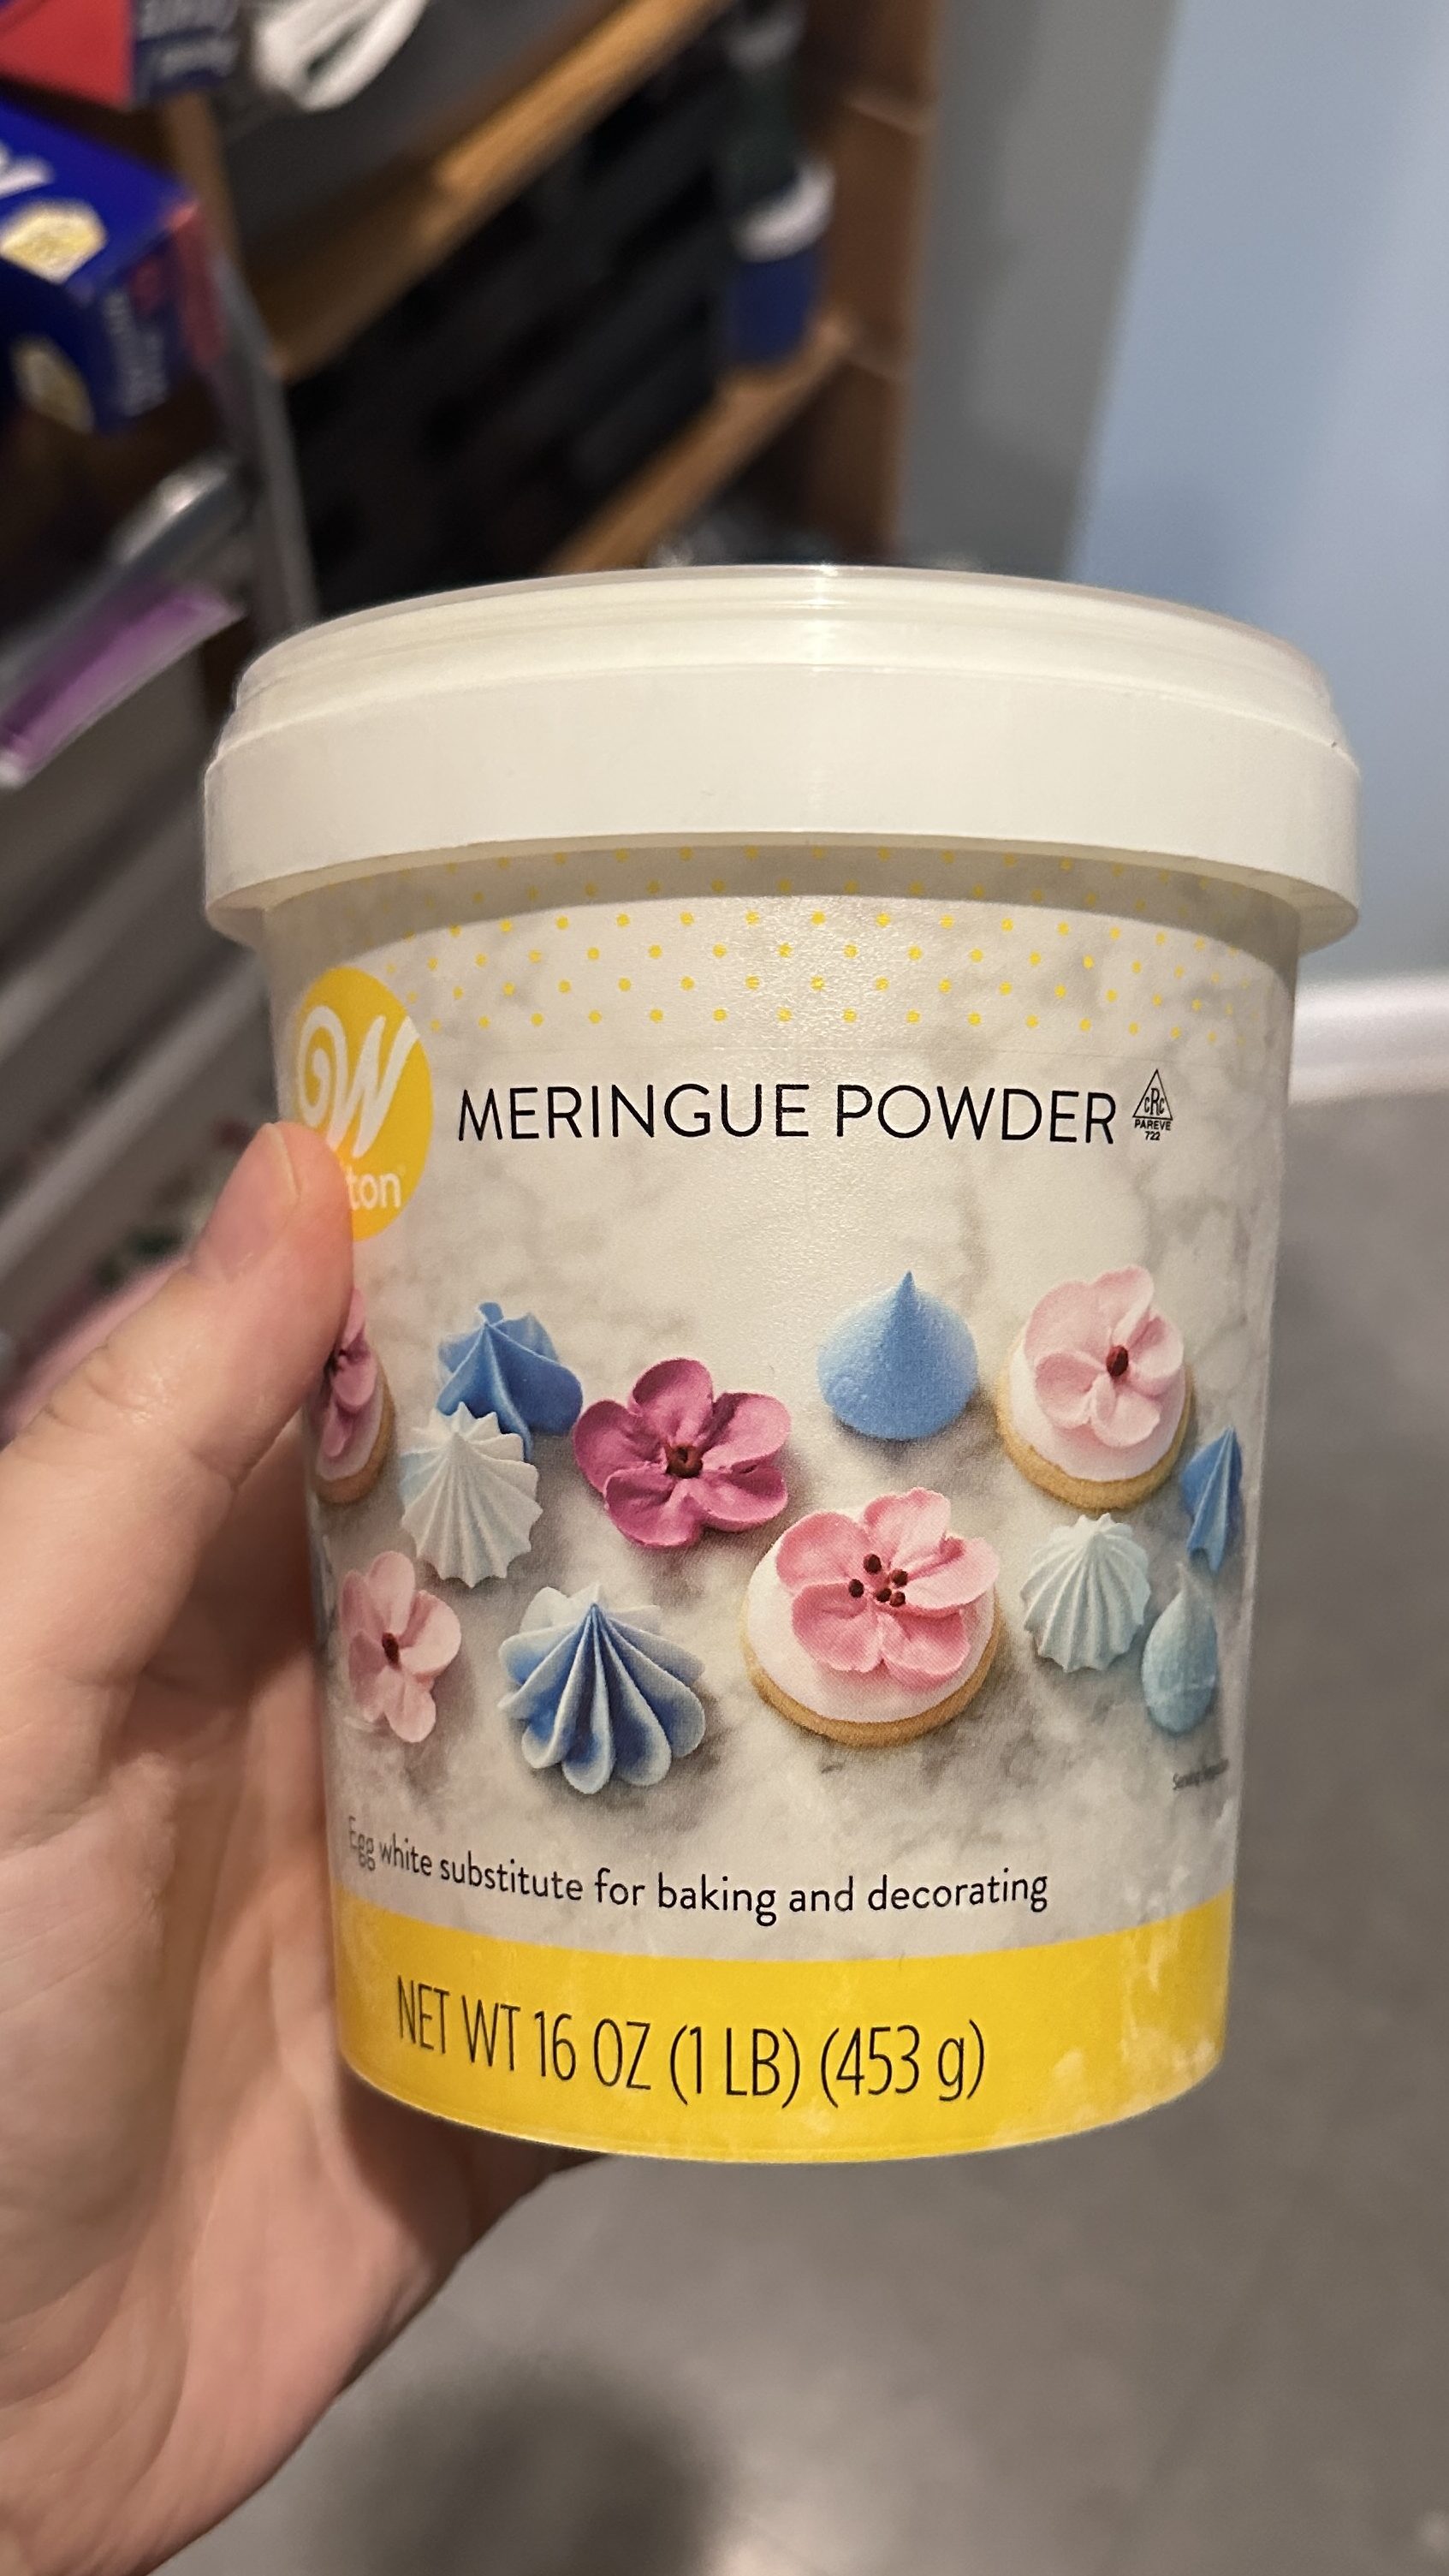

FYI: I’ve heard bad things about Judee’s meringue powder from Amazon, although I’ve never personally tried it
- Basic: Wilton (this is what I use) – another Amazon listing
- Splurge:
- Genie’s Dream – another Genie’s Dream listing
- Chefmaster – I’ve personally never used, but it’s a reputable brand and I know friends that like it
Water source (while mixing icing consistencies)
- Basic: trickle from the tap 😉
- Splurge: (make sure to ONLY ever use water in these!)
Light while decorating
- Basic: you already have excellent lighting in your room (I do not! ha)
- Splurge: daylight lamp (I have this and it’s a must–I use it for filming as well)
Drying method
- Basic: fan
- Splurge: dehydrator
- The dehydrator that I use: https://amzn.to/3pzZf32
- It looks like this has been out of stock for a while, so here is an alternative that looks almost exactly the same as the one I have: https://amzn.to/3Xxlmav
- For dehydrator use:
- Always set to lowest temperature (mine goes to 95 degrees)
- Don’t leave for more then 60 minutes total (I typically leave my cookies in for 10-15 minutes spurts)
- Cover the trays with either parchment paper or silicone mats (you don’t want the cookie to get dehydrated on the bottom!)
- The dehydrator that I use: https://amzn.to/3pzZf32
Icing Storage


See this post for much more detail on how I store icing and what I use
- My favorite way to store icing is in these Pyrex bowls – they comes with lids!
- 4 cup bowls are best for about 1 recipe of icing (what I used for this set)
- 7 cup bowls are better for large quantities (2-4 recipes of icing)
Next Step Cookie Decorating Supplies for the Intermediate/Advanced Cookier
Dehydrator
- The dehydrator that I use: https://amzn.to/3pzZf32
- It looks like this has been out of stock for a while, so here is an alternative that looks almost exactly the same as the one I have: https://amzn.to/3Xxlmav
Projector
- The projector that I use: I own both of these projectors. I first owned the Pico and purchased the Bluetooth as an upgrade. If budget is a concern, the Pico gets the job done (just make sure that you’re plugging it in correctly!). Otherwise, I recommend the Bluetooth – it has a better/brighter image
- 1) https://amzn.to/3348i24 (affiliate link) – Pico
- 2) https://amzn.to/2URI0dV (affiliate link) – Bluetooth
- I believe one or both of these projectors are sold out on Amazon. I’ve never personally used the following projectors, but I know people that use them and like them!
- https://amzn.to/3FX7r6N (affiliate link)
- https://amzn.to/3WPzQBw (affiliate link)
- I believe one or both of these projectors are sold out on Amazon. I’ve never personally used the following projectors, but I know people that use them and like them!
Airbrush
(I personally don’t use one and never have, so I cannot recommend one. Sorry!)
Packaging
- Clear Bags
- BRP Box Shop
- Southern Champion boxes from Amazon – I use these for classes!
Heat sealer
This sounds much fancier than it actually is. Buying flat bags made to use with a heat sealer will make your life SO much easier. I’m cheap and I bought the one that does not automatically cut the bag for you.
Cookie swivel
Ah, the cookie swivel! This is a great tool to assist with decorating, especially those really intricate designs. It’s best to move the cookie as little as possible so if you’re doing a design that requires accessing the cookie from many different angles then I’d suggest a cookie swivel! You don’t see a swivel in my videos often simply because I don’t think it looks that great in a sped up video, but I’m still a fan!
Paintbrushes
I recommend purchasing this set from The Sugar Art
Luster Dusts/Powders/Paints/Glitter/Edible Markers
Metallic dusts and glitter are a hot topic in the cookie/cake decorating world. The most mainstream gold dusts made for painting are labeled non-toxic but not edible. That said, the cake industry has been using these for FOREVER. Proceed at your own risk. I still own these non-toxic metallic dusts for rare occasions, but for the most part now I exclusively use the edible options from The Sugar Art (linked below).
- Powdered color (I use for both dry dusting and painting)
- Metallic dusts (I use for both dry dusting and painting)
- Paint – I like to use this premade paint option especially for white and black
- Glitter
- Edible markers

- For working with the gold luster dust:
- The Sugar Art Sterling Pearl in Wedding Gold (completely edible gold metallic)
- Liquid: Color Solution or Everclear in 190 proof (95% alcohol) and 151 proof (75.5% alcohol) — you CAN use some other clear alcohols like Vodka but it has to be VERY high proof alcohol. For those who cannot consume alcohol I’ve heard of some luck with lemon extra (although I’ve never used it). The high alcohol content is necessary for the liquid to evaporate as it dries.
- Small scoop: my fav from Borderlands
- Small container to mix (& reuse) gold powder: like this
- Small detail brush: thin and not too long (this is for painting gold on the lines and lettering) – this brush can be purchased in a set from The Sugar Art


- Small angled paint brush like this one from The Sugar Art set (basically I’d just recommend purchasing this set!) – for medium-sized areas


Tripod/Mount for Filming
I use this stand for filming decorating and my classes: https://amzn.to/3DccyNI
I use this stand for filming BTS (as I can use the light on this as well–the marble base is my favorite as it’s the heaviest): https://www.shopcanvas.co/collections/
Lights for Filming
For additional lighting directed at the cookies/on the table: https://amzn.to/3PRYsIU
For additional lighting in the space (I have terrible lighting in my apartment), I LOVE these lights and they don’t take up *too* much space:
Single light: https://amzn.to/3D86g1G
Trio: https://amzn.to/44k6oHb
My Favorite AMAZON Products
Baking
- Stand mixer or hand mixer (I prefer the stand mixer)
- Pans
- Pan lids (I love these for storing cookies overnight! AFTER having dried of course)
- Parchment paper sheets or Chua Cookie perforated mats (my fav!)
- For the pink mats I use the HALF SHEET version 1 to fit the Nordic Ware pans (my fav!) – Use code Chua15Grace23 for 15% off your order! **Do NOT wash with scented soap! Make sure all soap is thoroughly cleaned from the mat before drying. (I use the Nordic Ware half sheet with their matching lids.)
- Rolling pin
- Rolling guides (mine are 5/16”) – or you can buy the rolling pins with guides on them OR you can simply purchase 5/16″ dowels from a place like Home Depot/Lowe’s!
- Vanilla (this is the ONE baking ingredient I splurge on): Nielsen Massey Vanilla Bean Paste (affiliate link)
- Food scale for measuring ingredients
Decorating
Meringue powder
- (FYI: I’ve heard bad things about Judee’s meringue powder from Amazon, although I’ve never personally tried it)
- Basic: Wilton (this is what I use) – another Amazon listing
- Splurge:
- Genie’s Dream – another Genie’s Dream listing
- Chefmaster – I’ve personally never used, but it’s a reputable brand and I know friends that like it
Basic sets of food coloring
- Link for basic set of Wilton colors
- I’d recommend these over Wilton if budget allows and you instead to decorate more–better quality colors, bottles and larger amounts of color:
- Chefmaster – small bottles OR large bottles
- **I’m newly obsessed with Chefmaster and highly recommend getting the large bottle set (you can mix just about any color you need from them!) or the small bottles if you prefer more premade colors
- *You CAN use Chefmaster Bakers Rose (pink) with my lemon royal icing!!
- Link for basic set of Americolor
- Please note: you cannot use Americolor pinks with my lemon royal icing
- Artisan Accents (I’ve never used these but it’s reputable brand loved by others I know!)
- Chefmaster – small bottles OR large bottles
Water source for thinning icing
- Basic: trickle from the tap 😉
- Splurge: (make sure to ONLY ever use water in these!)
General
- The dehydrator that I use: https://amzn.to/3pzZf32
- It looks like this has been out of stock for a while, so here is an alternative that looks almost exactly the same as the one I have: https://amzn.to/3Xxlmav
- The projector that I use: I own both of these projectors. I first owned the Pico and purchased the Bluetooth as an upgrade. If budget is a concern, the Pico gets the job done (just make sure that you’re plugging it in correctly!). Otherwise, I recommend the Bluetooth – it has a better/brighter image and connects via Bluetooth.
- 1) https://amzn.to/3348i24 (affiliate link) – Pico
- 2) https://amzn.to/2URI0dV (affiliate link) – Bluetooth
- I believe one or both of these projectors are sold out on Amazon. I’ve never personally used the following projectors, but I know people that use them and like them!
- https://amzn.to/3FX7r6N (affiliate link)
- https://amzn.to/3WPzQBw (affiliate link)
- I believe one or both of these projectors are sold out on Amazon. I’ve never personally used the following projectors, but I know people that use them and like them!
- Sprinkle tweezers: https://amzn.to/3KalR3q
- Spray bottle: https://amzn.to/3AzWNj8
- PME scribe (my favorite small tip scribe): https://amzn.to/3ADdIBF
- PME black pearls (the ONLY black pearls that don’t bleed): https://amzn.to/3QWLlUa
- Wilton meringue powder: https://amzn.to/3A9XyOI
- Favorite tiny scissors for cutting bags: https://amzn.to/3dMwbCw
- Favorite black brush tip edible markers for writing on dried icing: https://amzn.to/3QE7o25
- Favorite edible markers for sketching designs directly on cookies: https://amzn.to/3QI7hCE
- KitchenAid stand mixer
- Larger KitchenAid stand mixer (bowl lift; this is 6 quarts and my favorite because it fits a double batch of dough easily – standard is 5 quarts): https://amzn.to/3K8vKP2
- While great for a double batch of dough, it’s a little big for a single batch of icing (but doable…I do it!)
- Standard 5 quart KitchenAid stand mixer (head tilt–this is the one that most people have as it’s the most available across stores): https://amzn.to/3sMttl3
- Smaller bowl lift 5.5 quart: https://www.kitchenaid.com/countertop-appliances/stand-mixers/bowl-lift-stand-mixers/p.kitchenaid-5.5-quart-bowl-lift-stand-mixer.ksm55sxxxbm.html?
- General though on KitchenAid models:
- If you can avoid it, I do NOT recommend a head tilt: get a BOWL LIFT! From my experience, the head tilt makes the structure of the machine less strong and the mechanism on the head tilt gets loose easily.
- For most people, 5-6 quarts is best. 5 quarts can sometimes seem too small, and 6 can sometimes seem too big. So maybe the 5.5 quart is the best Goldilocks option!
- Larger KitchenAid stand mixer (bowl lift; this is 6 quarts and my favorite because it fits a double batch of dough easily – standard is 5 quarts): https://amzn.to/3K8vKP2
HEAT SEALER – Amazon option
This sounds much fancier than it is. Buying flat bags made to use with a heat sealer will make your life SO much easier. I’m cheap so I bought the one that does not automatically cut the bag.
My Favorite BORDERLANDS BAKERY Products
Borderlands Bakery is a great shop to purchase a wide variety of cookie decorating supplies.
Website link: https://borderlandsbakery.com/?sca_ref=2111046.DqfiPILUrX
Use code THEGRACEFULBAKER10 for 10% off your order! (and a small commission to me… thank you!)
PRODUCTS:
- Tipless bag (THE best on the market! The thickest plastic possible to still be a tipless bag): https://borderlandsbakery.com/products/tipless-piping-bags-s-or-m-100-pcs?sca_ref=2111046.DqfiPILUrX
- Notta Cookie (great for practicing): https://borderlandsbakery.com/products/notta-cookie-reusable-practice-cookie?sca_ref=2111046.DqfiPILUrX
- Bag clips (I prefer bag clips to other ways to close the bag): https://borderlandsbakery.com/products/exclusive-rolling-pin-bag-clips-6-pcs?sca_ref=2111046.DqfiPILUrX
- Cello bags (for heat sealing cookies): https://borderlandsbakery.com/products/cello-heat-seal-bags-assorted-sizes-100-pcs?sca_ref=2111046.DqfiPILUrX
- Mini scoop (for scooping metallic dusts and powdered colors): https://borderlandsbakery.com/products/mini-stainless-steel-spoon?sca_ref=2111046.DqfiPILUrX
- Brush set (great starter brush set!): https://borderlandsbakery.com/products/basic-brushes?sca_ref=2111046.DqfiPILUrX
- Dot brush (for doing metallic polka dots…especially helpful when you don’t have an airbrush–I don’t!): https://borderlandsbakery.com/products/dot-brushes-2-pcs?sca_ref=2111046.DqfiPILUrX
- Spoonula: (currently out of stock)
- Brush cleaning pad (a NECESSITY especially for cleaning metallic dusts off brushes): https://borderlandsbakery.com/products/brush-cleaning-pad?sca_ref=2111046.DqfiPILUrX
- Reusable pipette (I prefer to use a pipette to add water to active my powdered food coloring): https://borderlandsbakery.com/products/plastic-reusable-pipettes-6-pcs-7-ml-capacity?sca_ref=2111046.DqfiPILUrX
- Dry dust pump (I buy these to DIY a dust pump for my edible glitter from The Sugar Art): https://borderlandsbakery.com/products/dry-dust-pump-refillable-1-pcs?sca_ref=2111046.DqfiPILUrX
RECIPES:
- Vegan icing and cookie recipe: https://borderlandsbakery.com/products/vegan-roll-out-sugar-cookie-icing-recipes-pdf-download
- Soft bite royal icing (aka Frankenfrosting): https://borderlandsbakery.com/products/soft-bite-royal-icing-recipe-pdf-download?sca_ref=2111046.DqfiPILUrX
- Lemon vanilla cookie recipe: https://borderlandsbakery.com/products/lemon-vanilla-bean-sugar-cookie-recipe-pdf-download?sca_ref=2111046.DqfiPILUrX
My Favorite THE SUGAR ART Products
The Sugar Art is one of my absolute favorite shops to purchase cookie decorating supplies as they sell a lot of different high-quality edible products that they make themselves.
Website link: https://www.thesugarart.com/?rfsn=5997529.2ce96f1
Use code THEGRACEFULBAKER10 for 10% off your order! (and a small commission to me… thank you!)
Color Solution
- This is a great alternative to EverClear to make metallic dusts a paint: https://bit.ly/3yHfErK
Paint Brush Set
- Probably my favorite brush set on the market! https://bit.ly/3ymjXXR
Sterling Pearls (metallic dusts like gold)
- General Link: https://bit.ly/3AN5Quh
- Wedding Gold (my fav gold): https://bit.ly/3ApP9Z6
- Nu Silver (my fav silver): https://bit.ly/3zofrKx
DiamonDust (edible glitter!!)
- General Link: https://bit.ly/3sqtZnF
- White Diamond (99% of the time this is the color I use): https://bit.ly/3zayg3x
- Gold: https://bit.ly/3bFciN0
Elite color (powdered food coloring for painting and dry dusting)
- General Link: https://bit.ly/3xVsb7l
Gels
The Sugar Art Gels: these are the newest color line from The Sugar Art! They are just as highly pigmented as their powders, but in a gel! Which means they’re a lot easier to work with. Highly recommend, especially for highly pigmented colors like black, red and brown. Just keep in mind a little goes a LONG way with these!
Master Elites (highly pigmented powders for coloring icing…a MUST for red and black!!)
If you already have these, use them! (Just make sure you’re using them correctly. Check out this video if you’re not sure what I mean.) But if you don’t already, I’d recommend the gels over the powders as they’re easier to use.
- Buy the full set: https://bit.ly/3k1L8Af
- Black (the only black I use to color pure black icing): https://bit.ly/3PfRhGO
- Red (the only red I use to color pure red icing): https://bit.ly/3cof21x
- White (I either use this or Americolor Bright White to color my white icing): https://bit.ly/3zxp3kJ
***Please note: my LEMON royal icing recipe does NOT work with all of the Master Elite colors due to the acidity of the lemon juice — a VANILLA (non-lemon) recipe is best used for the Master Elite pinks, otherwise I use all of their other colors with my lemon recipe (I use Wilton pink with my lemon recipe)
My Favorite Small Businesses to Shop Cookie Decorating Supplies
Here is a short list of great businesses to purchase specialized cookie decorating supplies! (You can also find many products at stores like Michael’s and JoAnn’s)
- General supplies
- The Cookie Countess
- Flourbox Bakery
- Grunderfully Delicious
- How Sweet is That (based in Canada)
- LC Sweets
- The Sugar Art (edible glitter, dusts, metallics, powdered coloring)
- Truly Mad Plastics
- Cookie cutters (those marked with ** are the ones I buy most often)
- Stencils
- Sprinkles
- Scribes
- (My favorite one is sold by Borderlands Bakery–the shorter one with the flat heart…they might not make it anymore)
- Scribes by VS
- Lilly Scribes
- Packaging
Heart Cookies ~ Valentine's Day Cookies - The Graceful Baker
Friday 22nd of March 2024
[…] Cookie Decorating Supplies […]
Easy Easter Egg Cookies
Thursday 21st of March 2024
[…] Cookie Decorating Supplies […]
Saint Patrick's Day Sugar Cookies ~ Easy Shamrock Cookies
Thursday 21st of March 2024
[…] Cookie Decorating Supplies […]
Easter Egg Sugar Cookies
Thursday 21st of March 2024
[…] Cookie Decorating Supplies […]
Writing with Royal Icing: Lettering Tips & Tricks
Friday 16th of February 2024
[…] Cookie Decorating Supplies […]